The whole trigger point for our getting chickens, besides my wife constantly saying she wanted them, was my finding a very nice used chicken coop on Facebook for free. I mean after all, who can turn down free?

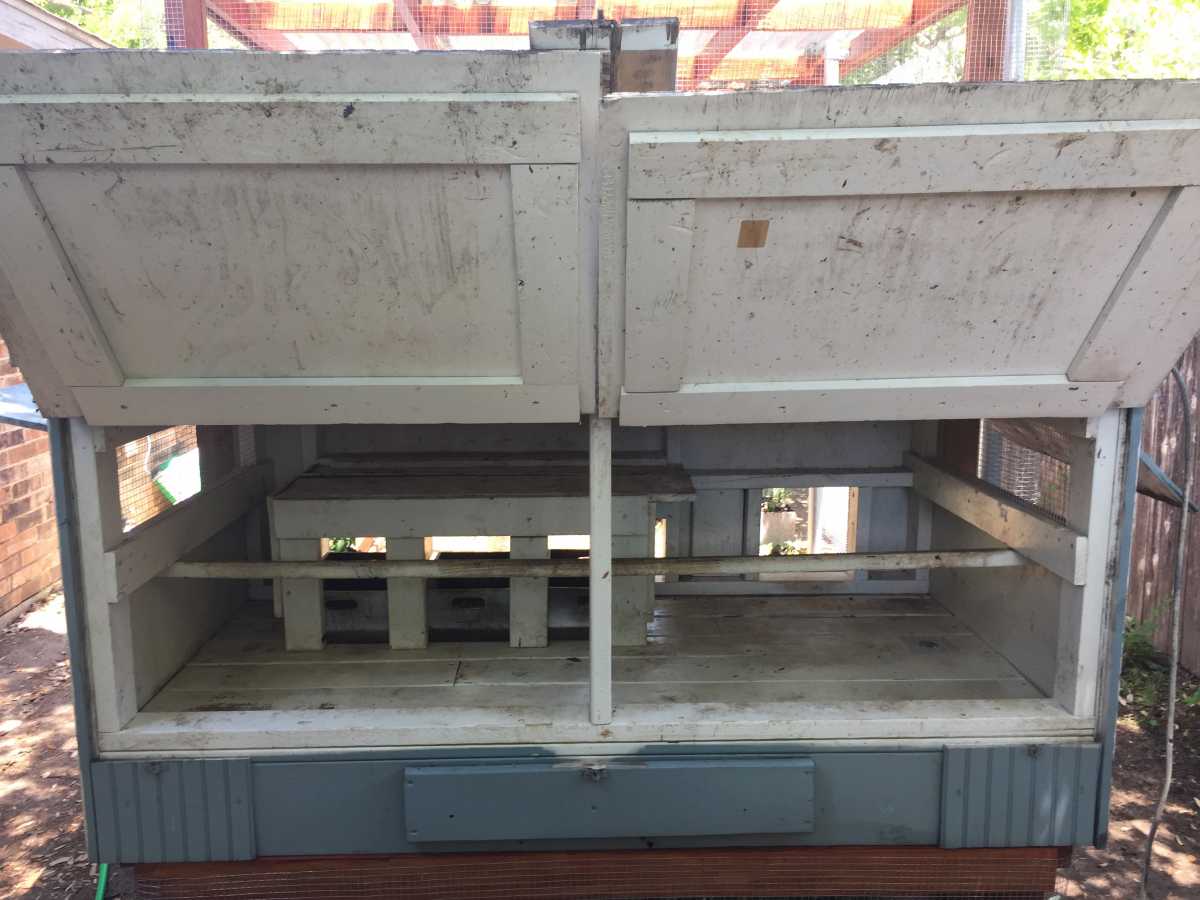
The coop itself was not in bad shape and had been built to last. Six foot tall by four foot deep by six foot wide and trust me when I say it weighs over 400 pounds! It took four of us to move it 35 miles from where we picked it up to our house, and then off my truck into our back yard. So we had a coop, and my wife and daughter picked out their chicks. Now it was time to build a run and attach it to the coop.
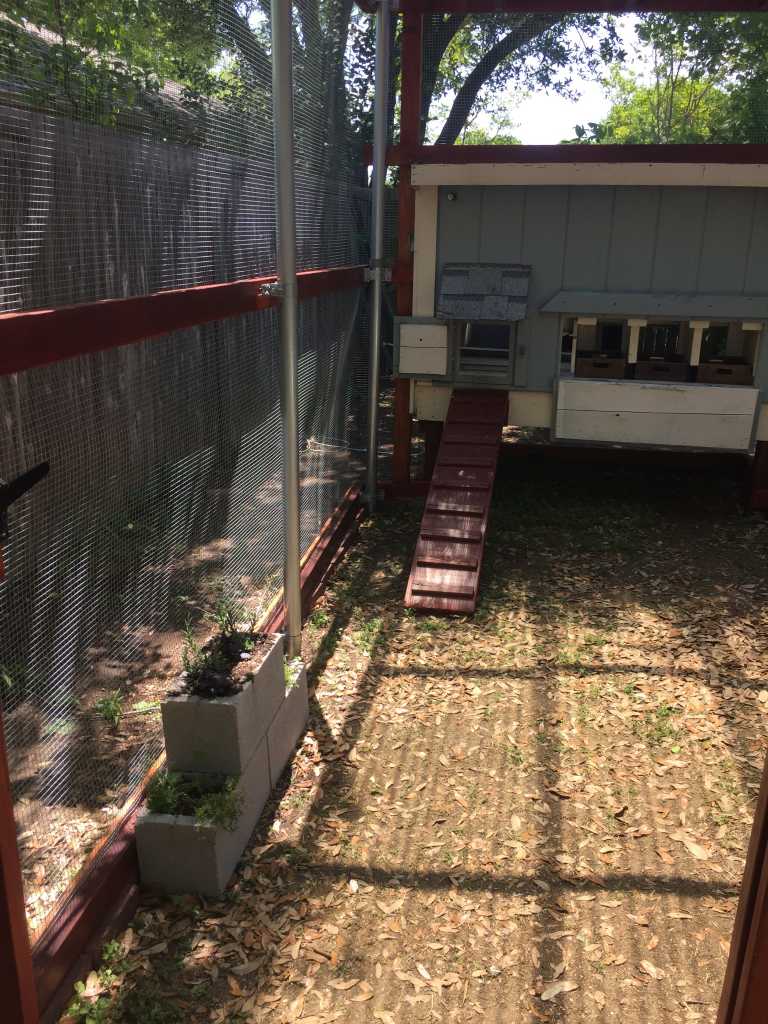
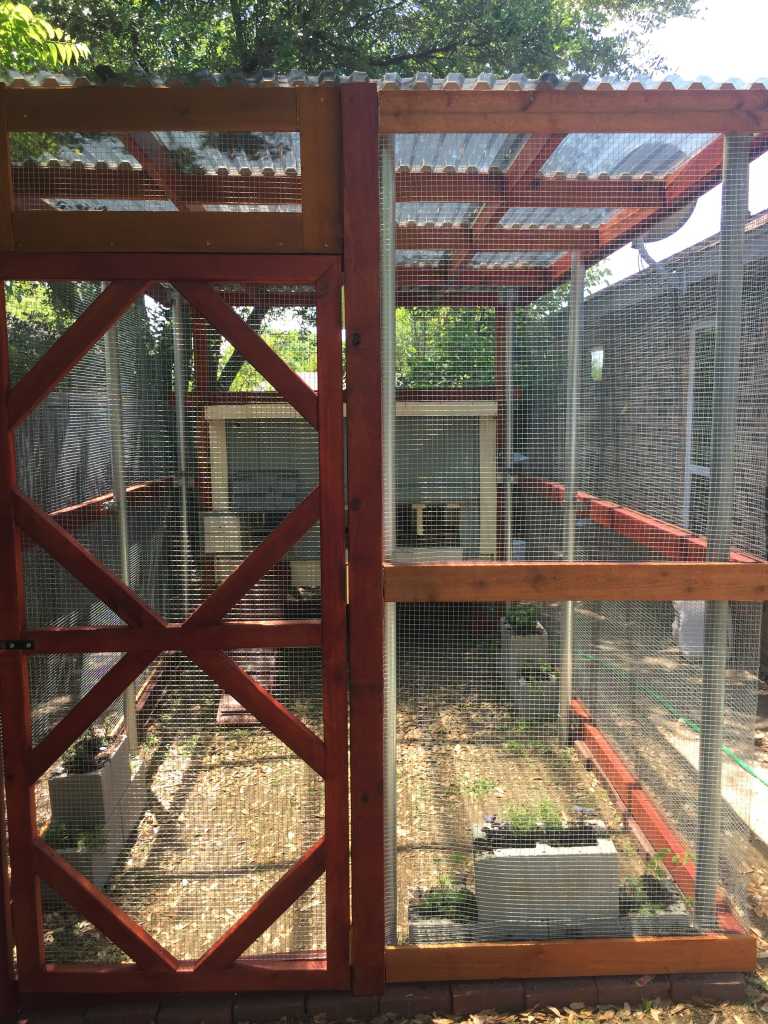
The chicken run was my father-in-law’s design and he basically made it up as we went along. We decided to make it seven feet wide by 12 feet long by eight feet high and attach it to the coop. The other thing we decided upon was the placement of the coop and run itself. We wanted it to be in a place in our backyard that would be shaded as much as possible, out of the way of the main backyard activities and easy to clean up around. Luckily we had just a location. The list of materials is in a word doc located here. This was a project that took us three weeks to finish, only because we only had a couple of hours during evenings to work on it as well as the weekends.
The first thing we did was to measure out the dimensions of the area, mark where we wanted the fence posts and started digging. The holes we dug were 18 inches deep and a foot in diameter and once the pole was centered, we put in Sakrete Fast-Setting Concrete Mix and waited for it to set. That constituted day one of this project.
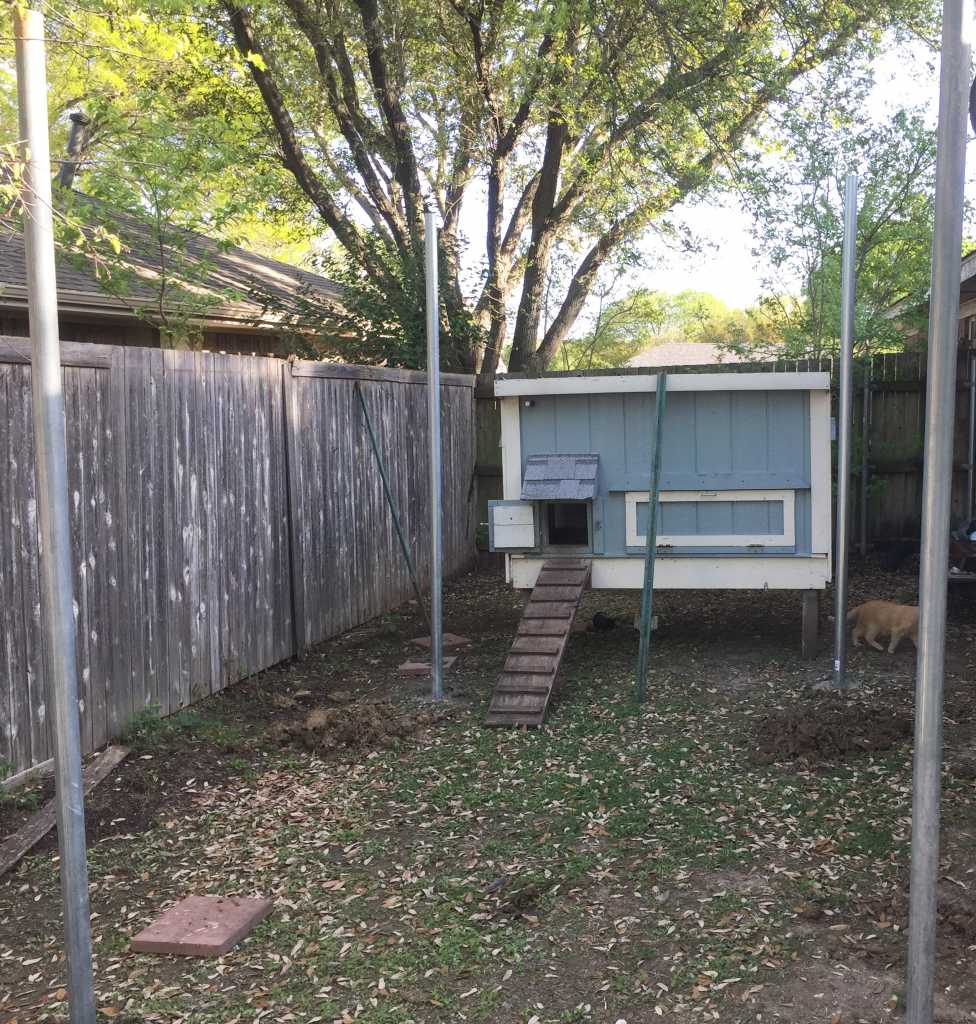
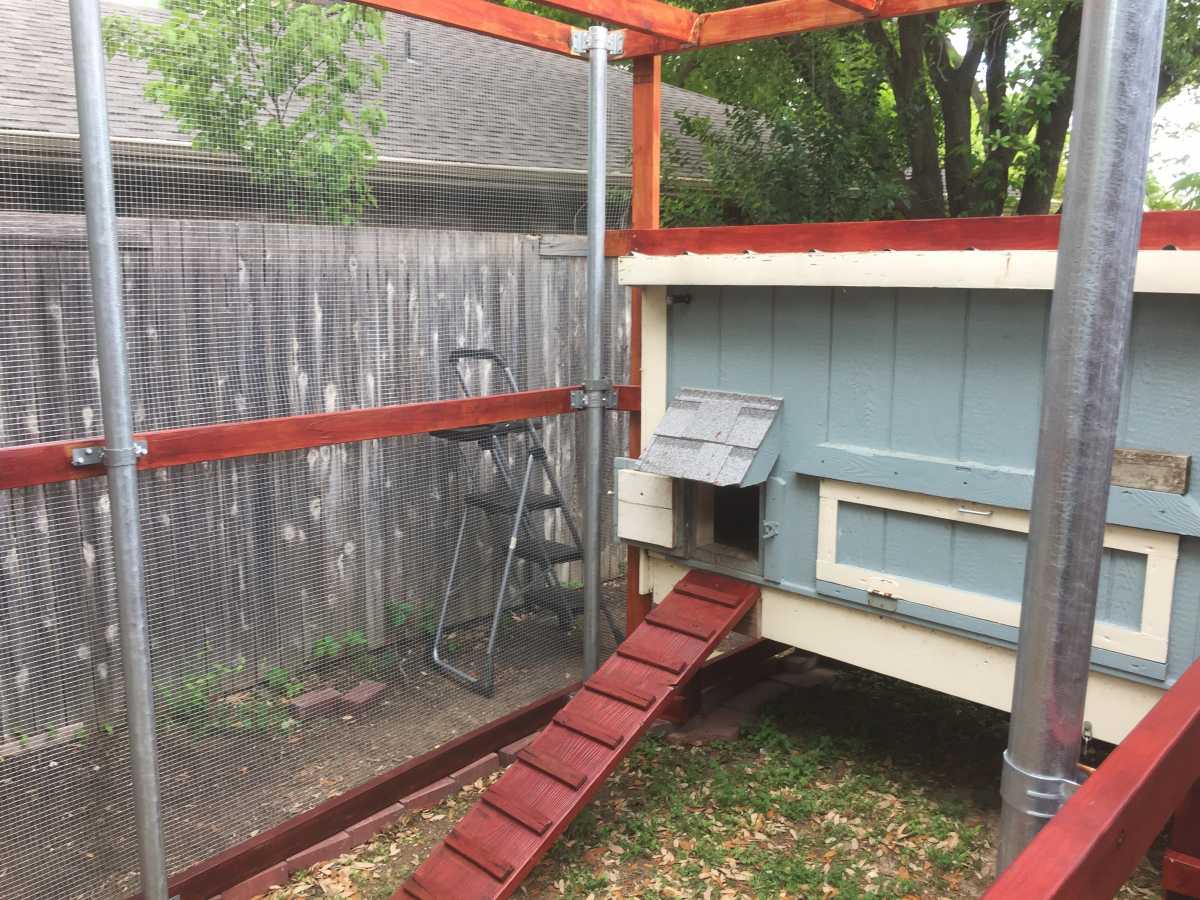
The next part of this project was to set the framework into place. This was done by using four inch steel to wood brackets and treated pine 2x4s. Now some people might have an issue with treated wood in a chicken run, but when you look at replacing the wood every few years or so due to weathering and such, this makes sense. Now later on we stained the wood and let it dry to further weatherproof the wood and staining the wood, in my opinion, takes the treated part of the wood out of the equation in this project. Oh, and here’s a hint: stain the wood first, then let it dry and start building. Don’t do what we did and build it and then remember that we should stain the wood! It will make things much easier for you if you build this or any project. It was also at this time that we cut the posts down to a height of eight feet and added the caps to the posts.
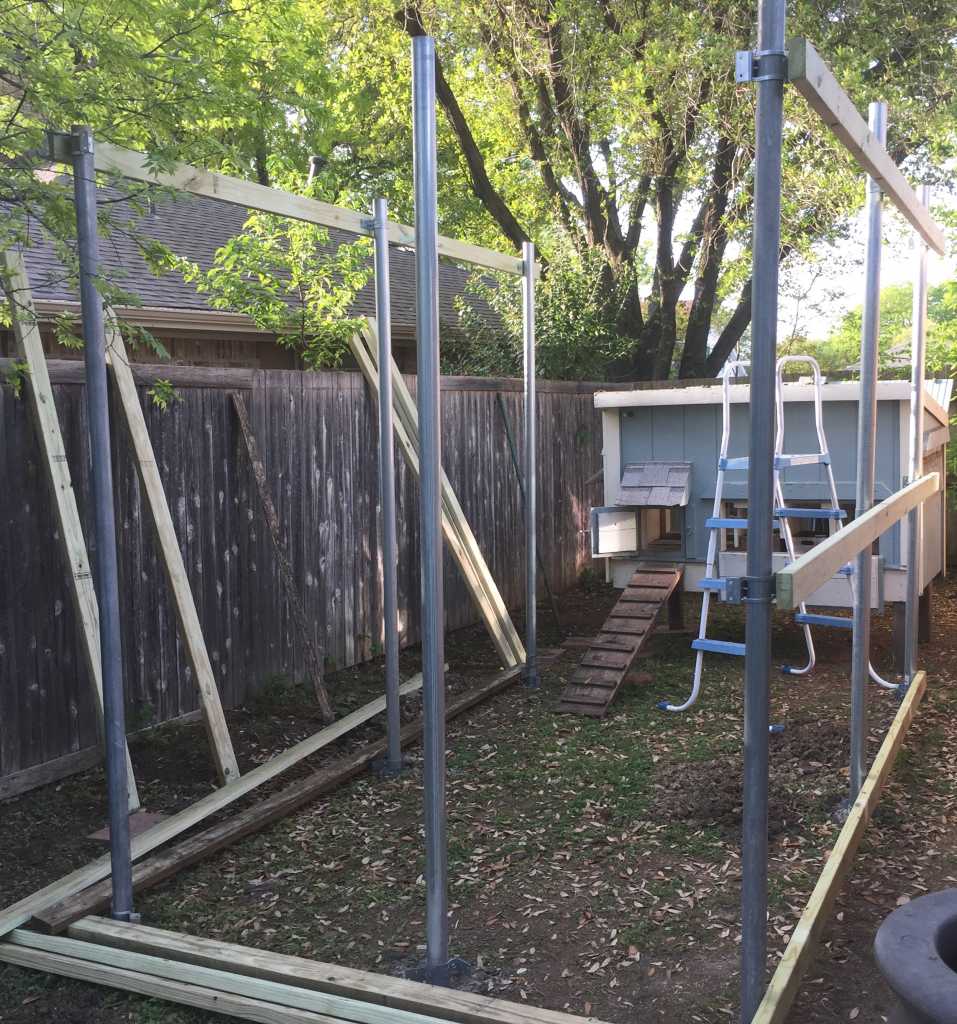
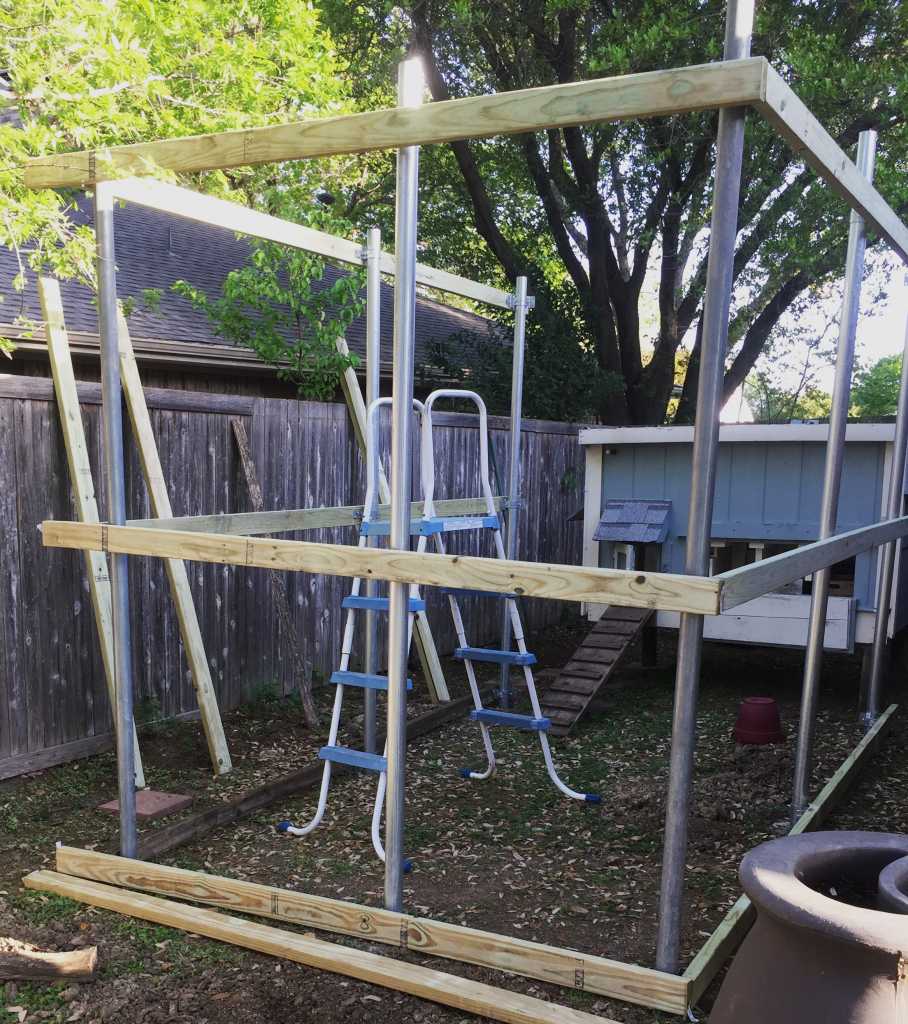
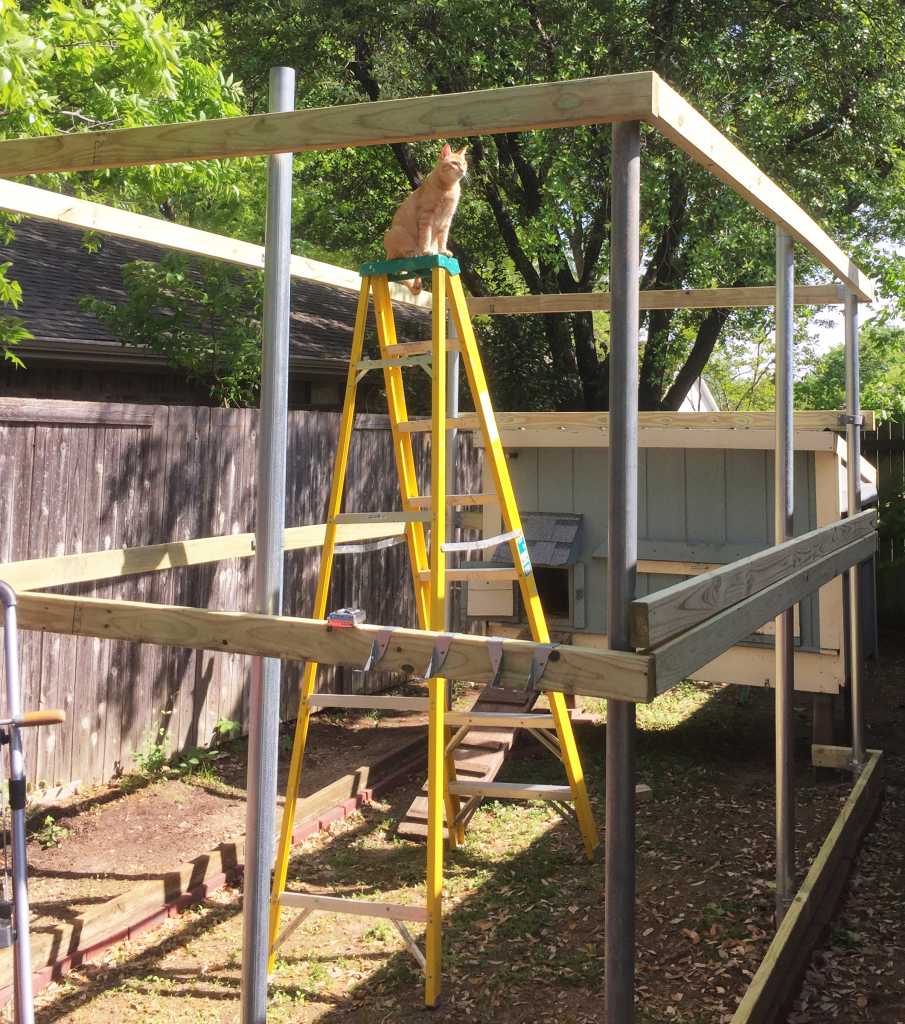
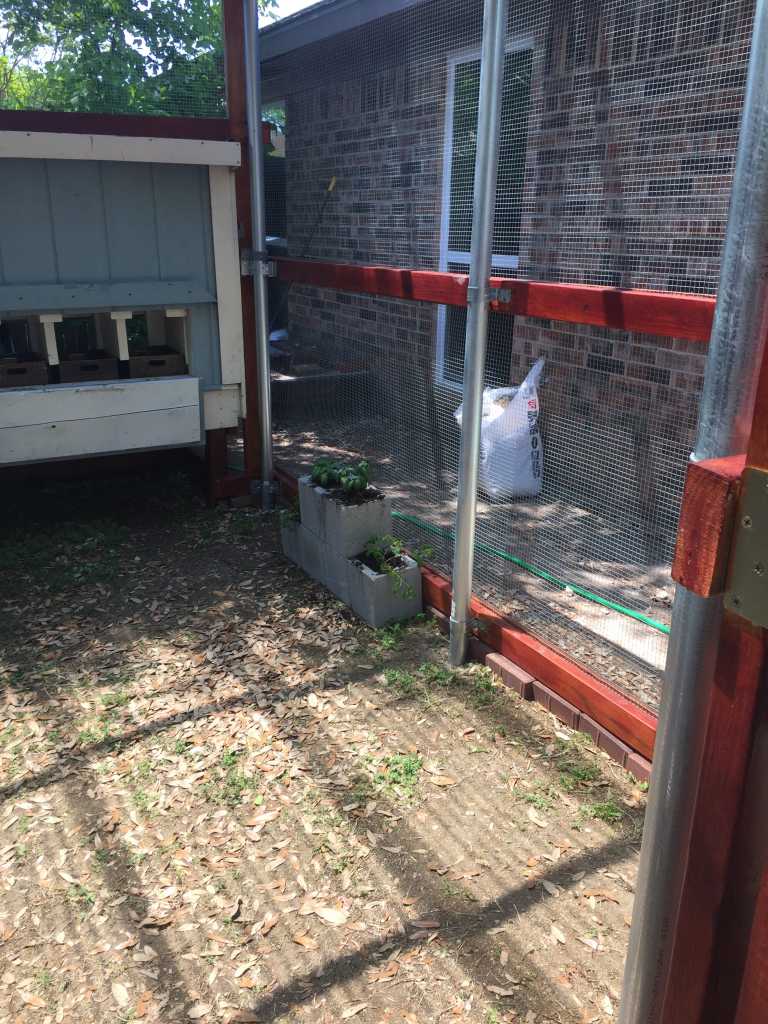
Once we had the frame up and complete, we used truss hangers to hang the 2x4s that would make up the roof. Then we started staining the wood, including parts of the chicken coop. Two other parts of the finished project we did at this time was to put paving stones between the wood and the dirt to close off that gap that might allow a snake or other animal entrance into the run and build the frame for the door to the run. I can’t take credit for the door as that was all done by my Father-in-Law. It was the first time for him to try this and he really wanted to build one by hand instead of buying one. Personally I think he did a great job on it! By this time we had been working on this project for a couple of weeks.
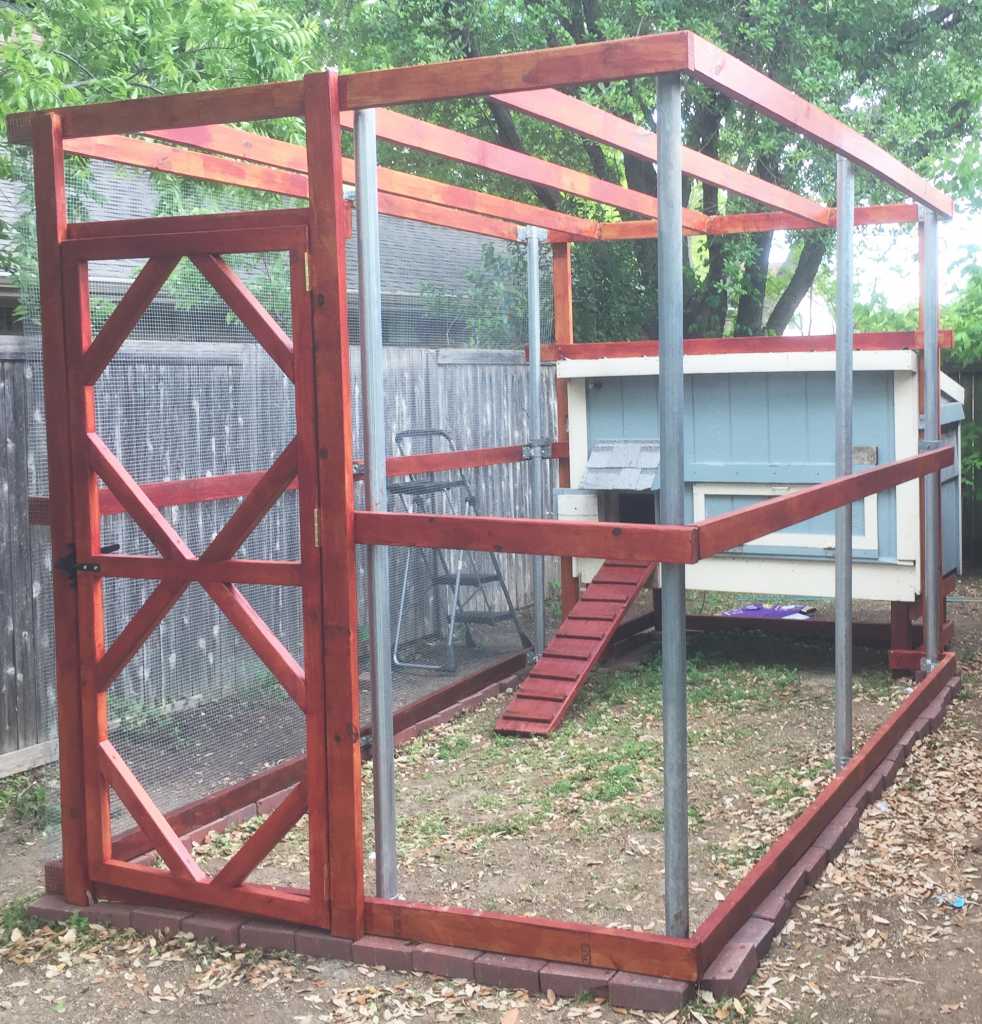
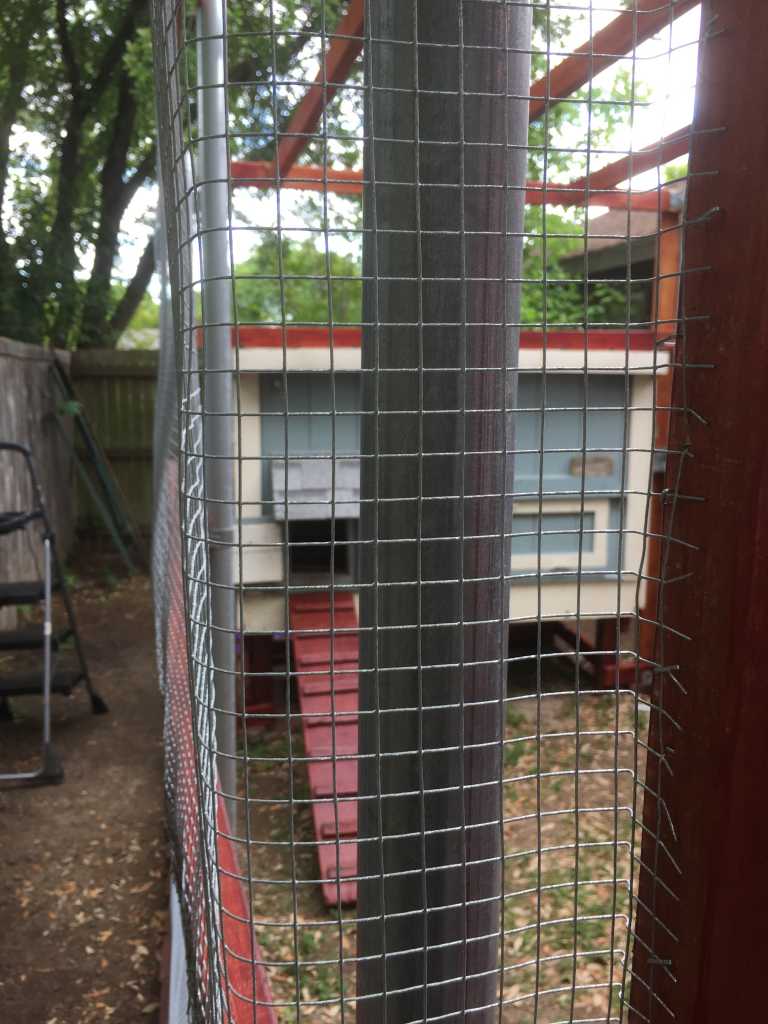
The next stage of this project was to attach the half inch metal fabric to the run. Now this was something my Father-in-Law and I had never done and it took some experimentation to get it right. The only hints I can really give is to ensure the fabric is stretched out and straightened out! We finally started stapling the fabric to the fence to straighten it out and that was a help. We also started by stapling the fabric to the 2x4s starting in the middle and on the top and working our way out to both sides, stretching the fabric as we went. At times this was a three person job and I grabbed my youngest daughter (15 years old) to help out. Once the top was secured, we start on the bottom section. We did this in stages, doing the top half of the run on one side, then the bottom and would continue the fabric around the corners to try and make a single piece of fabric do the job. To finish the entire run, we used 125 feet of 1/2 inch fabric. The door was taken off the run and had the fabric stapled to the back of it for that part. This took a couple of days to finish. Oh, and another hint when handling the fabric: use gloves you don’t mind throwing away afterwards, and have a really good pair of snips handy to cut the fabric!

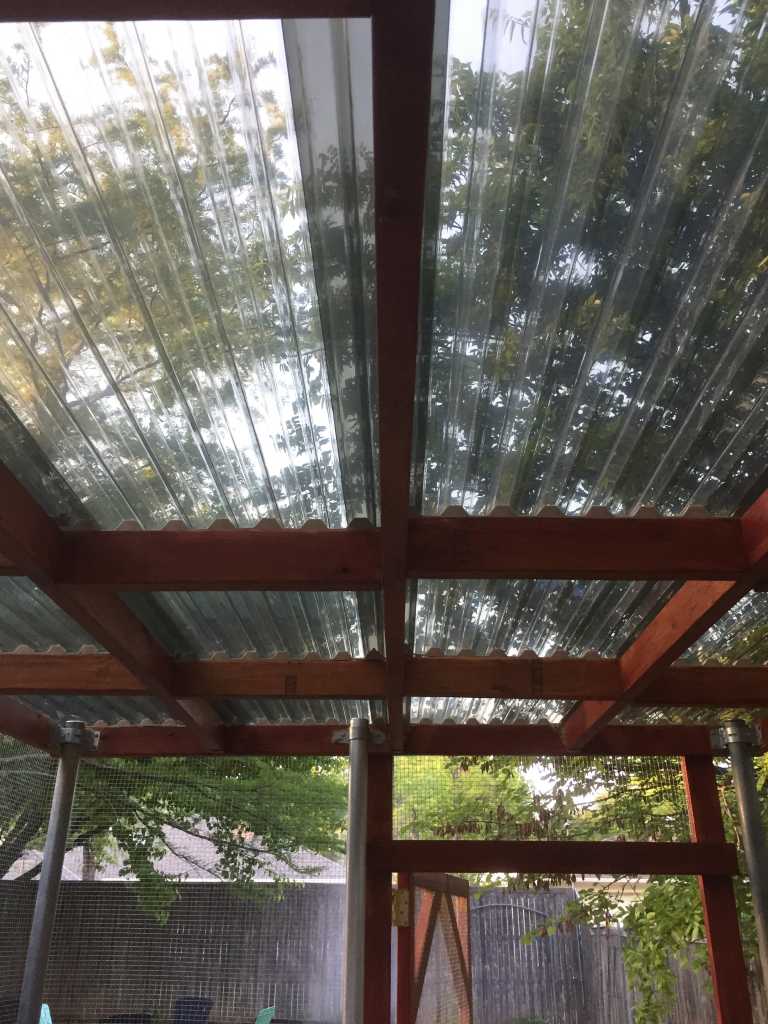
By this time the chicks were getting to the size that the brooder we purchased at Tractor Supply wasn’t holding them in very well. They simply kept jump/flying out of it! That and both my Father-in-Law and I would be taking trips very soon, so we needed to finish this project up quickly. We had the roof left to do and my wife wanted a solar shading style of roofing. So we added a product called Suntuf Polycarbonate Corrugated Roof Panel in Solar Grey. Now at this juncture of the project, we realized that the way this product had to be added wasn’t going to work with just the ceiling beams we had and we needed to add joists to the beams. So another day was added cutting the pieces of wood, staining and screwing the joists in. After that we added the roofing.
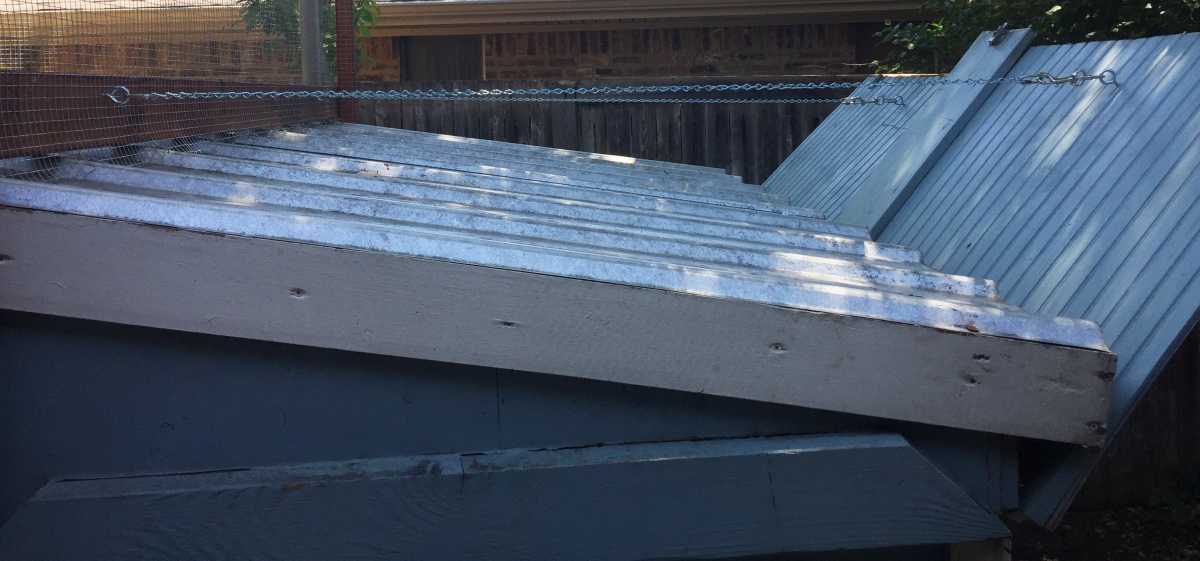
The run was complete as far as the building of it, but it wasn’t really complete. Not yet. It still needed my wife’s touch on the inside as well as making sure the coop itself was cleaned out and sanitized. After cleaning out the coop and making some modifications to it, like adding hooks and chain to keep the back doors open for cleaning, she added concrete block planters, chicken friendly edible herbs and after doing a little research, we used a combination of pine mulch (organic, not treated) and organic peat moss to the bare earthen floor. This was done to allow the chickens to have their dust baths.
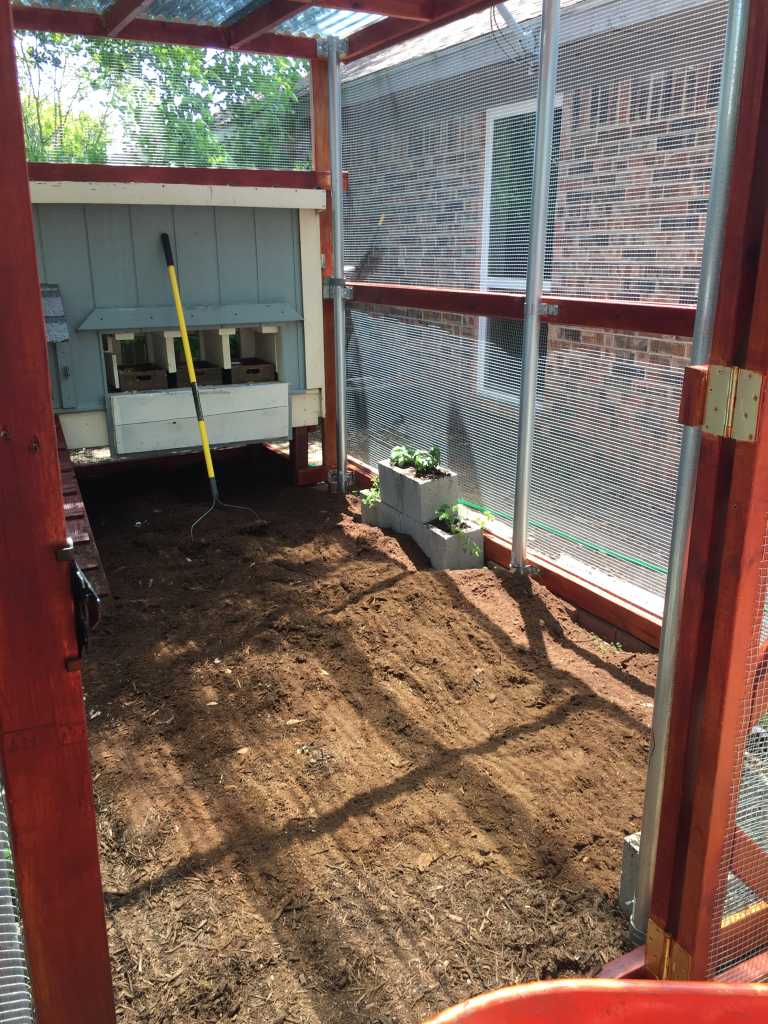
After that we added the girls into their new digs and I’d like to say they loved it!
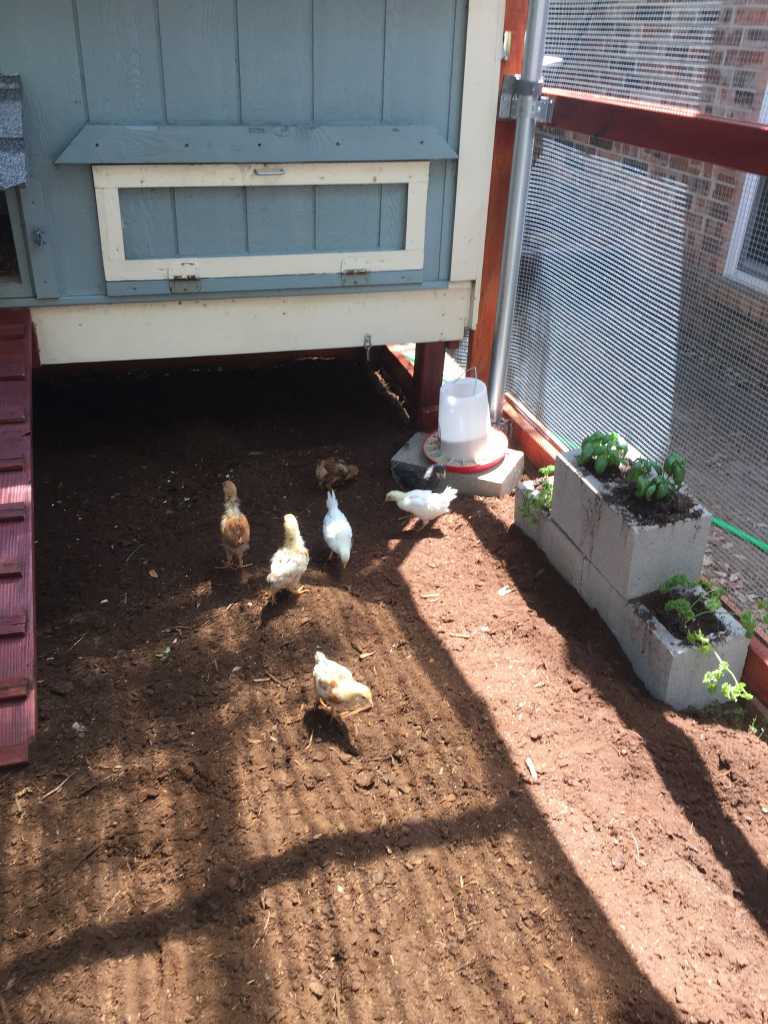
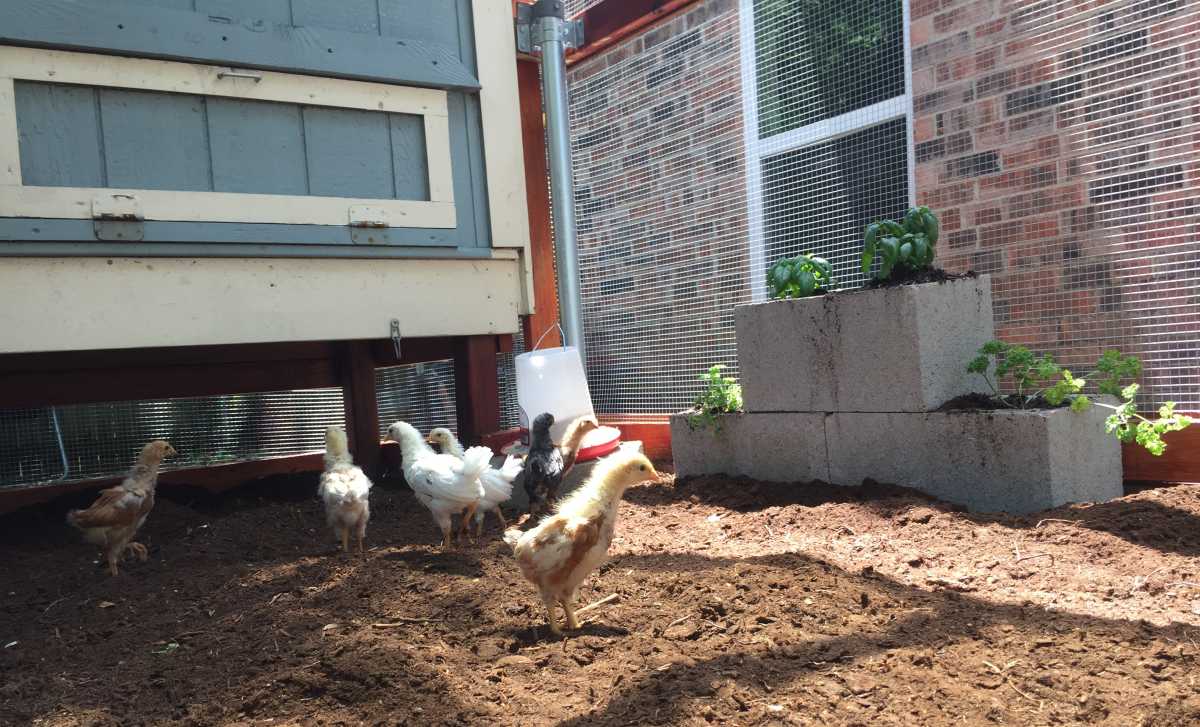
And that was the run we built to house our chickens. Since then we’ve added a misting system to one side of the run as well as a solar powered Wi-Fi camera system (more on those in another post) and I’m sure we’ll be adding more as we go along. I’ll keep writing and letting you know what we do.

Leave A Comment